
Improving your WordPress website’s visibility in search engine results and understanding how users interact with your site are essential for success in the online world. Google Search Console and Analytics are powerful tools that provide valuable insights about your website’s search performance, organic traffic, and user behavior. In this comprehensive guide, we’ll walk you through the process of setting up Google Search Console and Analytics on your WordPress site using the Google Site Kit plugin. With this easy and efficient method, you’ll be equipped with the necessary tools to optimize your site and gain valuable data-driven insights.
Step 1: Install and Activate the Google Site Kit Plugin
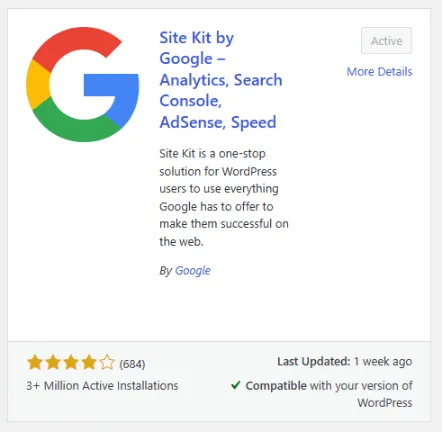
The first step is to install and activate the Google Site Kit plugin on your WordPress site. This plugin acts as a bridge between your WordPress dashboard and various Google services, including Google Search Console and Analytics. Head over to the Plugins section of your WordPress admin area, search for “Google Site Kit,” and click on “Install Now” followed by “Activate.”
Step 2: Connect Your Website to Google Search Console
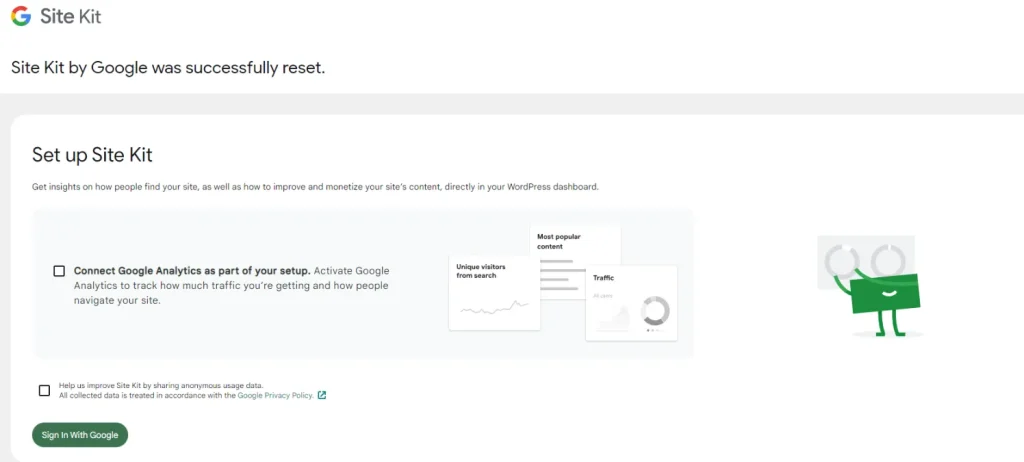
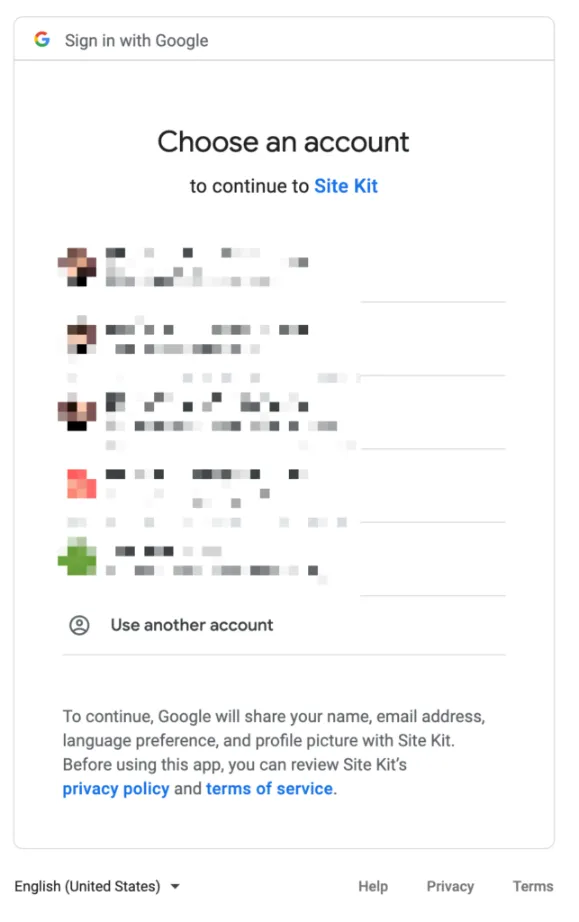
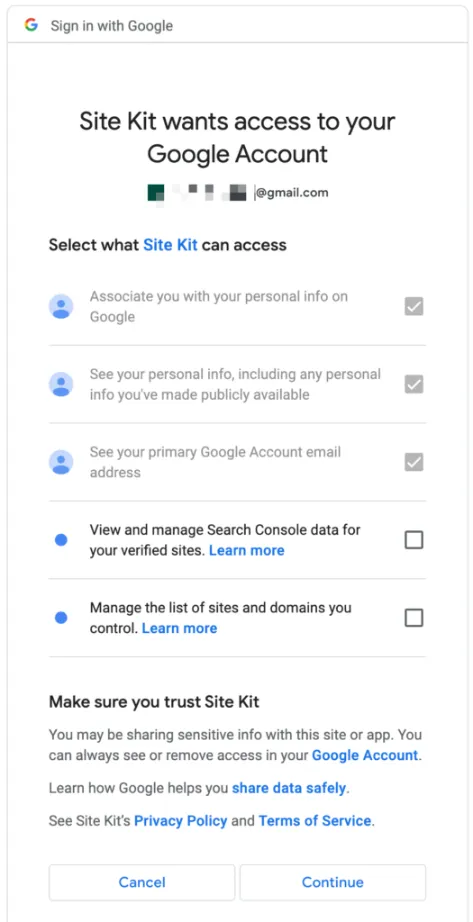
Once the Google Site Kit plugin is activated, it’s time to connect your website to Google Search Console. In your WordPress dashboard, navigate to the Site Kit menu and click on the “Start Setup” button. Follow the on-screen instructions to sign in to your Google account and grant permissions to access your Search Console data. Once the connection is established, select your website from the list of available properties and complete the setup process.
Step 3: Verify Ownership of Your Website
After connecting your website to Google Search Console, you need to verify ownership to ensure that you have full control over the site’s data and settings. The Google Site Kit plugin simplifies the verification process by automatically verifying your website using the Google account associated with your WordPress site. Follow the instructions provided by the plugin to complete the verification.


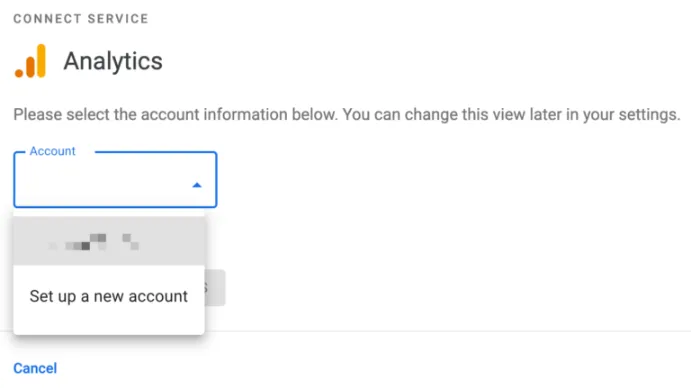
Step 4: Connect Your Website to Google Analytics
With the Google Site Kit plugin already installed and activated, connecting your website to Google Analytics becomes a breeze. In your WordPress dashboard, go to the Site Kit menu and click on the “Connect More Services” button. Locate Google Analytics in the list of available services and click on the “Set Up” button. Follow the prompts to authenticate your Google account and grant permissions. Once connected, select your website from the list of available properties and complete the setup process.


Step 5: Customize Google Analytics Settings
After successfully connecting your website to Google Analytics, it’s time to customize the settings according to your requirements. In the Site Kit menu, click on “Settings” and then choose “Analytics.” Here, you can enable advanced tracking options, set up goals, and configure additional features to track specific metrics. Adjust the settings to align with your analytics goals and click on the “Save Changes” button.
Step 6: View Search Console and Analytics Data in WordPress
With the setup complete, you can now access your Google Search Console and Analytics data directly within your WordPress dashboard. Navigate to the Site Kit menu and click on the Dashboard option. Here, you’ll find an overview of your website’s performance, including key metrics and insights from both Search Console and Analytics.
In the Search Console section, you can see how your website is performing in Google search results. It provides information about your site’s impressions, clicks, and average position in search rankings. You can also view data on the keywords that are driving traffic to your site and identify any indexing issues that need your attention.
In the Analytics section, you’ll find a wealth of information about your website’s visitors, their behavior, and your marketing efforts. You can explore data on your website’s traffic sources, user engagement, popular pages, and conversion rates. This data enables you to make informed decisions and optimize your website based on the insights gained.
Site Kit also offers individual modules for other Google services like AdSense, PageSpeed Insights, and Tag Manager. By enabling these modules, you can integrate additional functionality and access more data relevant to your website’s performance and monetization.
Step 7: Take Action Based on Insights
Now that you have access to valuable data from Google Search Console and Analytics, it’s time to put that information to good use. Use the insights gained to optimize your website, improve your marketing strategies, and enhance the overall user experience. Here are some actions you can take:
Identify and optimize underperforming pages: Analyze the data on page views, bounce rates, and conversion rates to identify pages that may need improvement. Make necessary adjustments to improve the content, layout, and user experience of these pages.
Optimize keywords and meta tags: Use the keyword data from Search Console to identify high-performing keywords and optimize your content accordingly. Make sure to update your meta tags, headings, and descriptions to align with the keywords that drive traffic to your site.
Enhance user experience: Analyze user behavior metrics such as time on page, exit rates, and click-through rates to identify areas where users may be encountering issues or facing barriers. Improve navigation, page load speed, and mobile responsiveness to enhance the overall user experience.
Refine your marketing campaigns: Utilize the data on traffic sources, referral sites, and conversions to assess the effectiveness of your marketing efforts. Adjust your campaigns based on the insights gained to maximize your return on investment.
Step 8: Regularly Monitor and Adjust
Optimizing your website for speed and performance is an ongoing process. It’s crucial to regularly monitor your data, track key metrics, and make necessary adjustments to ensure your site continues to perform at its best. Here are some tips for ongoing monitoring and adjustment:
Set up regular reporting: Schedule automated reports to be sent to your email or use a reporting tool to stay updated on the performance of your website. Regular reports will help you track progress, identify trends, and spot any issues that require attention.
Perform A/B testing: Test different variations of your pages, headlines, calls-to-action, and other elements to identify what works best for your audience. A/B testing allows you to make data-driven decisions and continuously optimize your website for better results.
Stay informed about updates: Keep yourself up to date with the latest developments in WordPress, Google algorithms, and best practices for website performance. Regularly check for updates to plugins, themes, and WordPress itself to ensure you are using the latest versions and benefiting from any performance improvements.
By following these steps and leveraging the power of Google Search Console, Analytics, and the Google Site Kit plugin, you can significantly boost your WordPress site’s speed and performance. Remember, a fast and optimized website not only improves user experience but also enhances your search engine rankings and drives more traffic to your site.